
Can You Make a Perfect Pavlova with Crisp Meringue and Fresh Berries at Home?
Creating a perfect pavlova can sometimes feel like an uphill task, especially when it comes to mastering the elements of crisp meringue and the delectable topping of fresh berries. However, as intimidating as it may seem, you’ll be glad to know that making a pavlova from scratch right in the comfort of your own kitchen is not only possible but also pretty straightforward. With the right ingredients, a bit of patience, and a little persistence, you can master the art of making this sweet dessert – a dessert that is named after the famous Russian ballerina, Anna Pavlova.
The Basic Steps to Making a Pavlova
Before diving into the details of the recipe, let’s outline the basic steps. First, you’ll whip up a glossy meringue using egg whites and sugar. The meringue is then transferred to a baking sheet and baked in an oven for a specific amount of time. The result is a crisp meringue base that is soft and fluffy on the inside. You’ll then top the meringue with a generous layer of whipped cream and an assortment of fresh berries. Sounds simple, right? Now, let’s go into the specifics.
A lire en complément : What’s the Best Technique for a Succulent Roast Chicken with a Herbed Butter Rub?
The Meringue Base
The meringue base is arguably the most critical part of a pavlova. It’s what gives the dessert its unique texture – a crunchy exterior with a soft and marshmallow-like interior. To make the meringue, you’ll require egg whites, sugar, and a touch of vanilla for flavor.
Start by preheating your oven to 130 degrees Celsius. While the oven is preheating, separate the egg whites from the yolks. You will need six egg whites for this recipe. Once separated, add the egg whites to a clean, dry mixing bowl. It’s crucial that the bowl is free from any oil or water as this can inhibit the formation of stiff peaks.
A lire en complément : Can You Prepare a Gourmet Macaroni and Cheese with Truffle Oil and Gouda?
Using a mixer, beat the egg whites on medium speed until soft peaks form. At this point, you will gradually add 300 grams of sugar, one spoonful at a time, while continuing to beat the eggs. The gradual addition of sugar helps to create a meringue that is firm and glossy.
Once all the sugar is added, crank up the mixer to high speed and whip until stiff peaks form. The mix should be glossy and hold its shape when the whisk is lifted. At this point, add 2 teaspoons of vanilla to enhance the flavor.
The Baking Process
Baking the meringue is a process that requires precision. You’ll need to ensure that your oven is at the right temperature. Too hot and the meringue will brown too quickly and not cook properly on the inside. Too cold and the meringue will not crisp up.
After you have your meringue ready, spoon onto a baking sheet lined with parchment paper. Shape into a circle, ensuring the edges are slightly higher than the center. This will create a well for the whipped cream and berries to sit.
Bake in a preheated oven at 130 degrees Celsius for about 90 minutes. The meringue should be crisp and dry on the outside. Remember, the inside should remain soft and marshmallow-like. Once baked, turn off the oven and let the meringue cool inside the oven with the door slightly ajar. This prevents the meringue from collapsing.
The Whipped Cream and Berry Topping
While the meringue is cooling, you can prepare the topping. For the whipped cream, you will need 500ml of heavy cream, 2 tablespoons of sugar, and a teaspoon of vanilla.
In a large bowl, whip the cream until soft peaks form. Add the sugar and vanilla, and continue whipping until the cream is firm but still smooth.
Once the meringue is completely cool, remove from the oven and transfer to a serving plate. Add the whipped cream, spreading it evenly over the meringue. Now comes the fun part – decorating with berries!
The Finishing Touches: Decorating with Berries
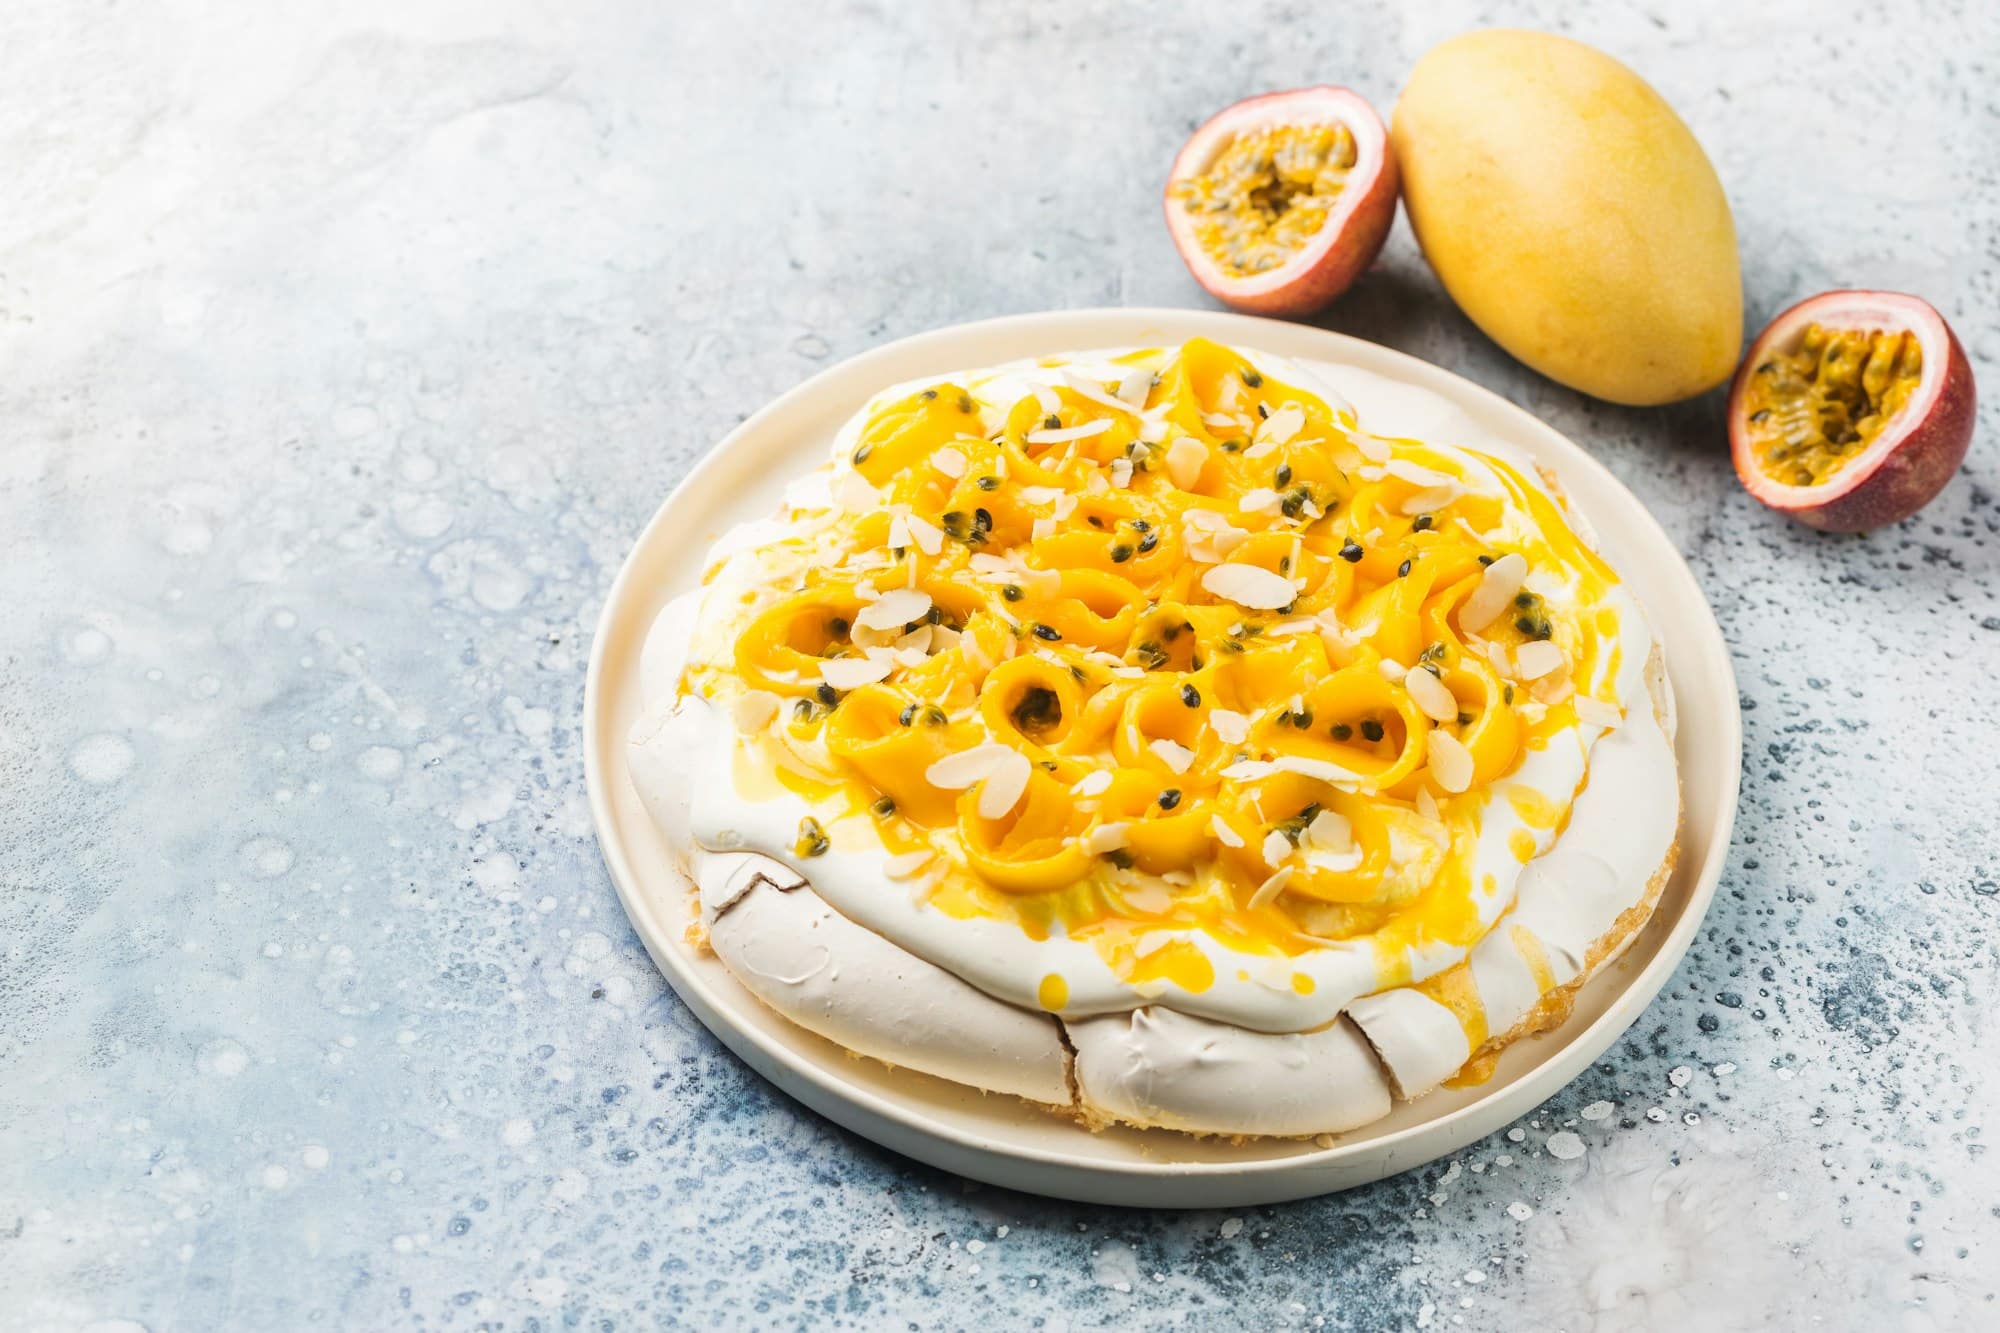
There’s no definitive rule on what types of berries to use for your pavlova. Feel free to add a mixture of strawberries, blueberries, and raspberries; even some exotic fruits like kiwi or passionfruit for a bit of tangy contrast against the sweetness of the meringue and cream.
To decorate, simply scatter the berries on top of the whipped cream, arranging them in any design you like. For an extra touch of sweetness, you can sprinkle a little powdered sugar over the berries.
And there you have it! A perfect pavlova with crisp meringue, silky whipped cream, and fresh berries. It’s a dessert that’s sure to impress – and you made it right at home. Enjoy!
Harnessing The Power Of Egg Whites and Cream Of Tartar
A key ingredient in your pavlova recipe is the egg white. Egg whites are essentially the binding agent in the meringue, helping to create that distinctive crispy shell and fluffy, marshmallow-like interior. When whipped, egg whites transform into a light, airy foam that gives the meringue its volume.
In addition to egg whites, the recipe calls for cream of tartar. This might seem like an odd ingredient, but it serves an important purpose. Cream of tartar stabilizes the egg whites, which helps them hold their shape while baking and prevents collapse due to the heat of the oven. It’s an acid that reacts with the egg whites, allowing them to whip up more quickly and hold stiff peaks for longer.
To begin making the meringue base, make sure the egg whites are at room temperature. This will help them whip up better. Add egg whites to the bowl of your stand mixer, and start beating on medium speed. Once the egg whites begin to froth, add a pinch of cream of tartar. Continue to beat until you see soft peaks forming. This is the point where you gradually add sugar – about 300 grams.
Remember to add sugar, a spoonful at a time, while beating the mixture. This slow introduction of sugar will ensure that it fully dissolves into the egg whites, contributing to a smooth, glossy meringue. Whip the mixture until stiff peaks form – a stage where the peaks will hold firmly and not droop down when the whisk is lifted.
The Art Of Baking and Cooling Your Pavlova Meringue
The baking process of pavlova meringue is a delicate one. The temperature of the oven is crucial here. Too hot, and the meringue will brown too quickly without cooking through. Too cool, and the meringue won’t develop a crisp exterior.
Line a baking tray with parchment paper, and spoon the egg white mixture onto the tray. You can use a spatula to shape the mixture into a circle, making the edges slightly higher than the center. This will create a well for the whipped cream and fresh fruit toppings.
Now, the meringue is ready for baking. Place the tray in a preheated oven at 130 degrees Celsius for about 90 minutes. The key here is to achieve a meringue that is crisp on the outside but still soft on the inside.
Once time is up, turn off the oven but leave the meringue inside to cool with the door slightly ajar. This is a trick to prevent the meringue from collapsing during the cooling process. It will also allow the meringue to continue drying out, creating that perfect crispy shell.
In Conclusion
Creating a perfect pavlova with crisp meringue and fresh berries at home is an endeavor that requires precision, patience, and practice. However, once you’ve mastered how to whip egg whites into a firm glossy meringue, how to bake it to perfection, and how to top it with whipped cream and colorful fresh berries, you’ll realize that it’s a task that’s as rewarding as it is delicious.
Remember to ensure that your egg whites are at room temperature before starting, and to add the granulated sugar slowly while beating the egg whites to give your meringue the best texture. Also, don’t forget the cream of tartar – a simple ingredient that makes a world of difference in stabilizing your meringue.
Lastly, be creative with your toppings. From fresh berries to tangy lemon curd or even a dash of vanilla extract, these final touches can elevate your homemade pavlova to the next level. So, gather your ingredients and get ready to make pavlova – a dessert that’s not just delectable, but also a delightful sight to behold. Happy baking!